Installation and Operation of the CD 5.1x
A quick perusal of the owner's manual reveals some interesting details about installing the CD 5.1x into your audio system, and how to operate it.
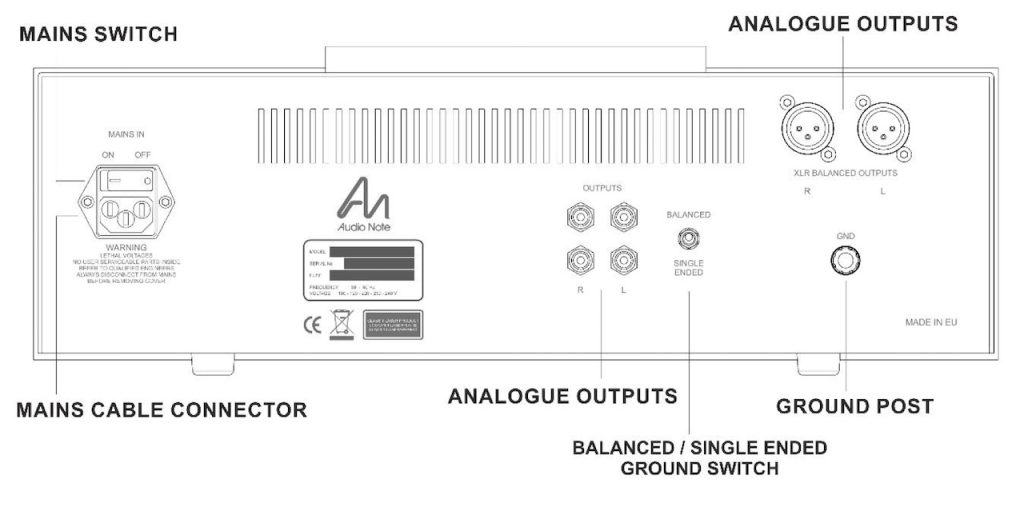
First you'll want to get the CD 5.1x installed into your audio system, so let's take a look around back.
From right to left (below): On the top right you can see a pair of XLR outputs, with a ground post just below them. To their left is a balanced/single ended ground switch. Towards the center of the chassis are two pairs of RCA outputs (one pair to go to the preamp or integrated amp, and the other pair for a recording device should you desire that). On the far left is an integrated IEC 320 mains inlet/switch to plug the power cord into and power on/off the CD 5.1x.
Your first installation decision will be to decide if you want to use the XLR or RCA outputs, which will be dependent upon the other components in your audio system.
The two pairs of RCA outputs at 1.2V are for use with hi-fi kit that utilizes RCA inputs, and the pair of balanced XLR connectors with 2.4V of output are for those owners with balanced connections on their preamp, or for pro use with components that use balanced XLR connectors.
I was curious why the CD 5.1x has an RCA output voltage of 1.2V when the CD 2.1x/II and CD 4.1x I reviewed have an output voltage of 3V, so I asked Darko about it:
"The CD5.1x has, as you noticed, a lower single ended output voltage than the lower-Level CD players in the range. This was a deliberate choice, with the intention of making it more of a universal player, that will work—from the perspective of total system gain—with a wide range of amplifiers and pre/power combinations. So for instance, the CD5.1x will work equally well with a Meishu Tonmeister, with 30dB gain, as with a classic pre/power combination such as the M5 and a pair of Quests (300B SET mono amplifiers), with 50dB gain. The same is true of our upper-Level DACs, such as the DAC4.1x Balanced, DAC5 / DAC 5 Signature and the Fifth Element/Force. All of these have the same 1.2V single ended output voltage."
If your preamp or integrated amplifier has XLR inputs you'll want to use the XLR outputs of the CD 5.1x, and if they have RCA inputs you'll want to use the CD 5.1x's RCA outputs.
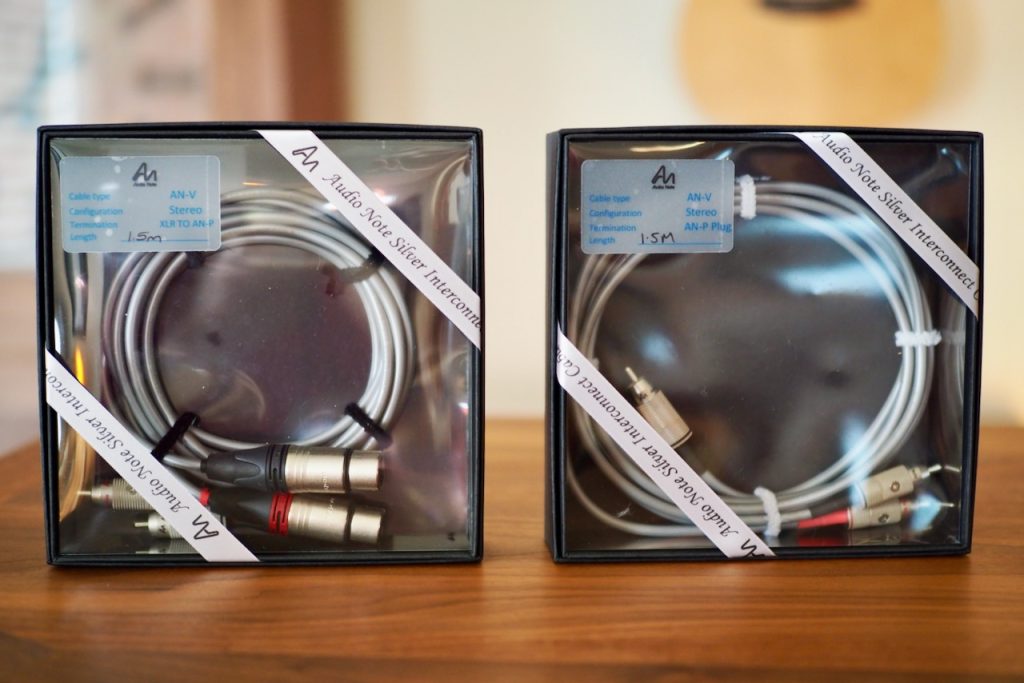
The owner of a CD 5.1x also has the option of running an interconnect terminated on the CD 5.1x end with XLRs, and on the preamp-amp end with RCAs, which will deliver 2.4V. This XLR to RCA interconnect option can be a handy 'nitro-boost' choice for those with low total system gain like you might experience with flea-power SET amplifiers.
Here's a few examples from my own use of the CD 5.1x:
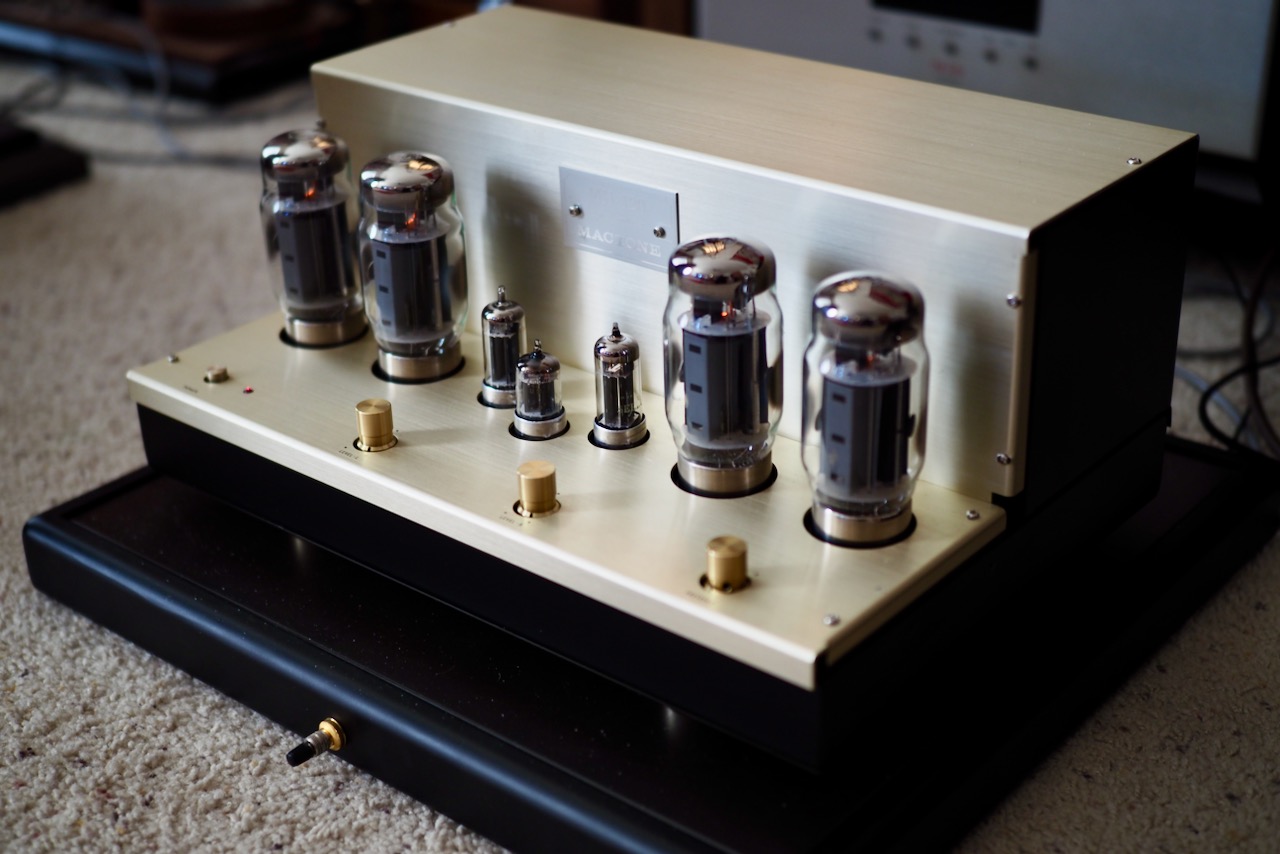
First example: The CD 5.1x's 1.2V RMS single-ended output voltage can achieve full output from amplifiers given a typical audio system gain structure, as with the 65 watt per channel Mactone MH-120 stereo amplifier I recently reviewed for Positive Feedback (HERE), where I used the CD 5.1x in single-ended output mode to excellent effect as the source component for that review.
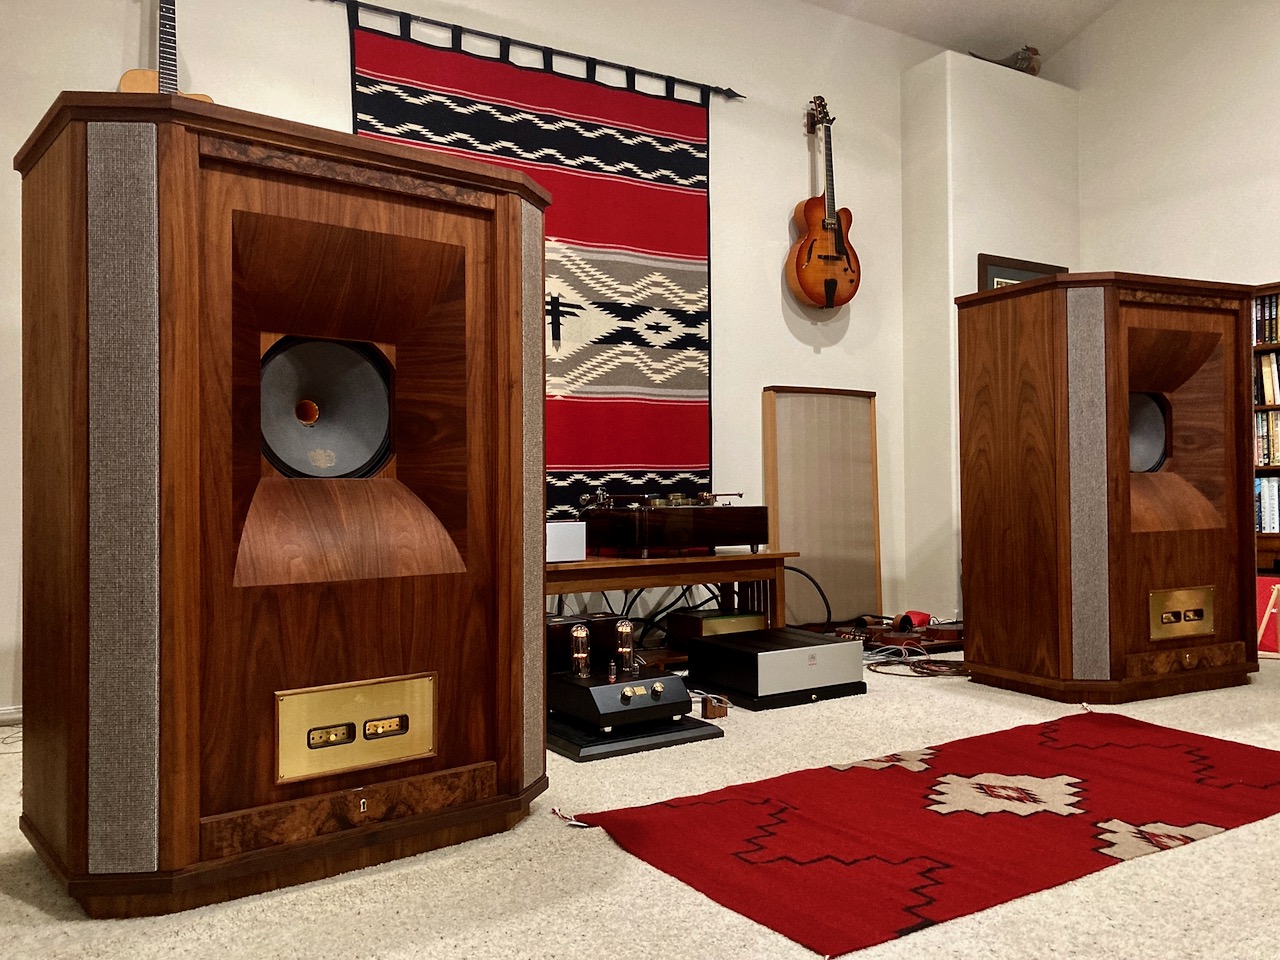
With the 65-watts per channel Mactone MH-120 amplifier, the CD 5.1x's 1.2V RMS output voltage could easily drive my 99dB sensitive Tannoy Westminster Royal SE loudspeakers to live-like levels with plenty of power to spare.
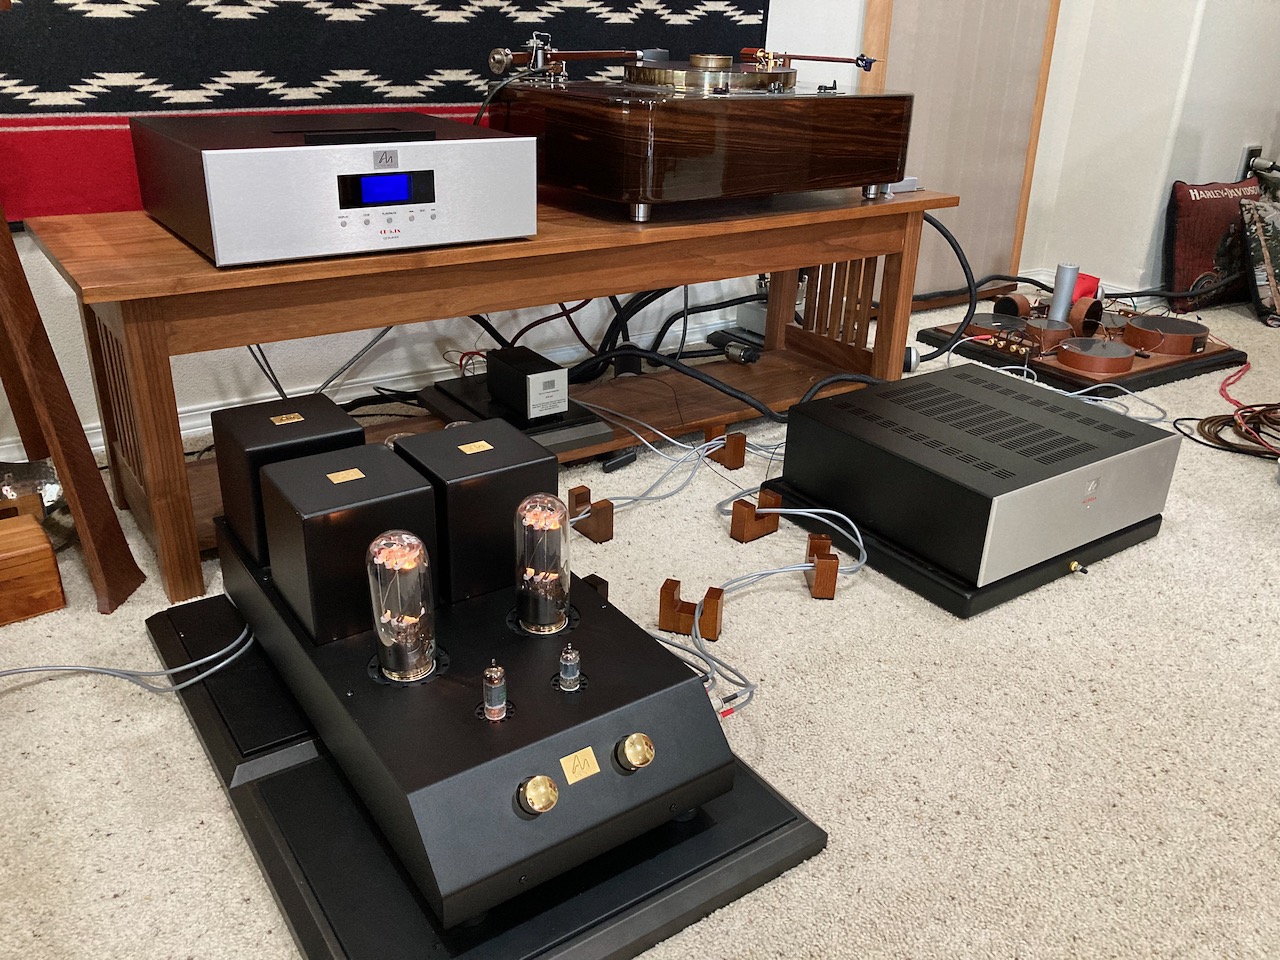
Second example: The "nitro boost" feature comes in handy for those of us with flea powered SET amplifiers, like for example, the 2-watt Triode Lab 45 EVO SET integrated amplifier that I use as one of the reference amplifiers with my West's.
The "nitro boost" feature also worked very well with the Audio Note (UK) Meishu Phono Silver Tonmeister 300B single-ended-triode (SET) integrated amplifier used in this review.
Here's how the "nitro boost" feature of the CD 5.1x works:
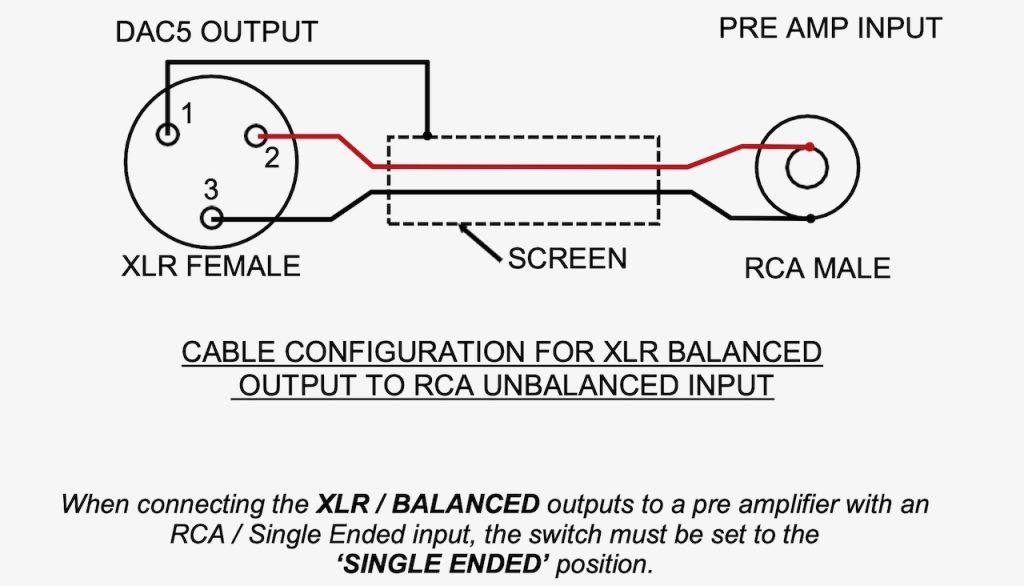
To utilize the "nitro boost" feature of the CD 5.1x, all you need is a pair of XLR to RCA terminated interconnects per the above diagram, which Audio Note (UK) will make for you on a custom basis should you desire to go that route.
After installing the XLR to RCA interconnects, and placing the CD 5.1x's rear panel output switch to the single-ended position, it will now deliver 2.4V RMS to a pair of RCA inputs on a preamplifier or integrated amplifier.
Voilà, now you have an adequate audio system gain structure even with ultra low-power / low-gain SET amplifiers.
After you've selected what interconnect option to use, then you plug in the power cord, and power up the CD 5.1x, and then the rest of your audio system.
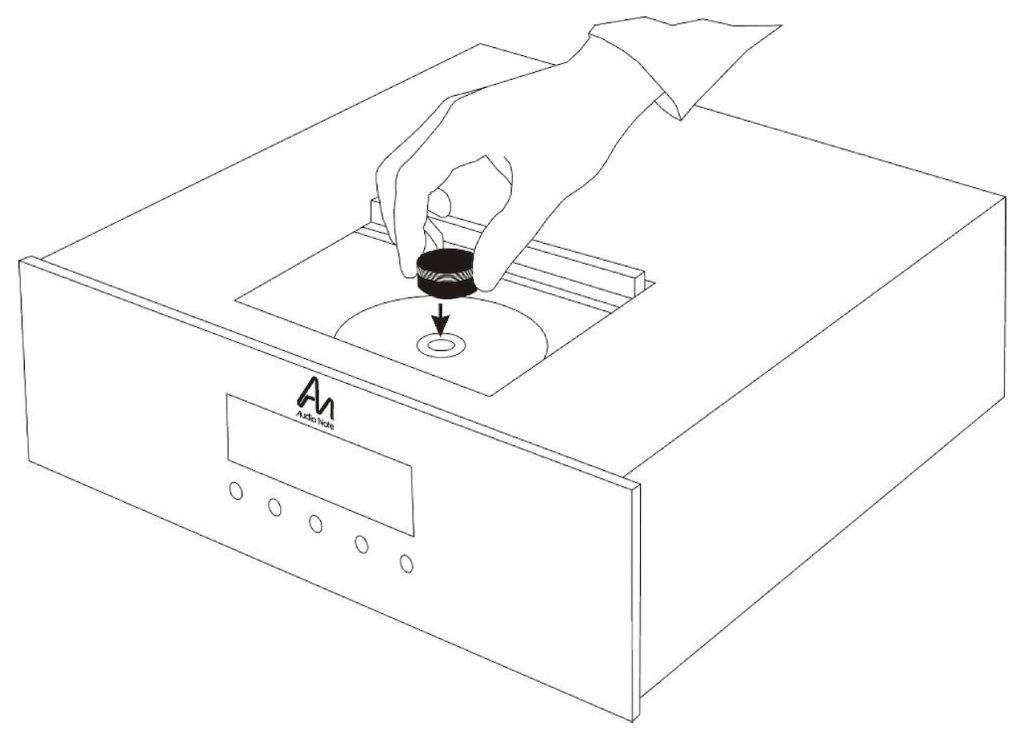
After a suitable warmup period, then its time to open the sliding disc cover of the top-loading Philips CD Pro 2LF CD mechanism, and place the CD on the spindle, followed by the magnetic disc clamp that holds it firmly in place.
When the sliding top cover is closed the CD 5.1x will read the disc's data. Now you are ready to play your CD, and you can use either the front panel buttons or the remote control to initiate playback.
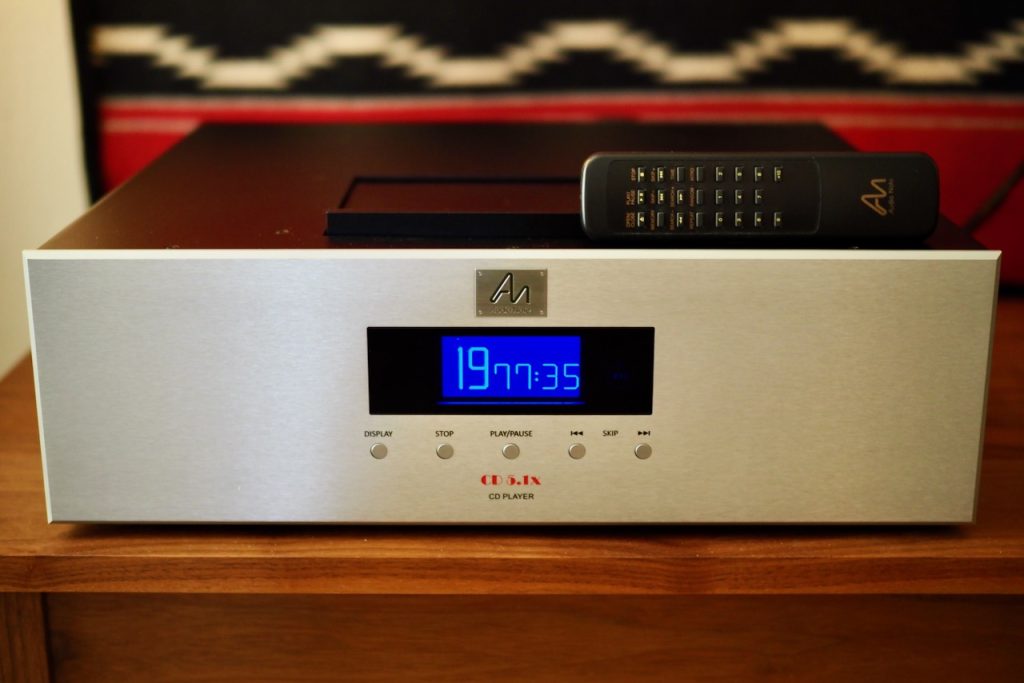
The front panel buttons are the usual play/pause, skip, and stop controls, with an additional button that allows you to dim or turn off the display for those late night listening sessions.
The remote control has additional functions that allow you to play the CD tracks in a different order, omit tracks, or to just generally program it to play back CDs in whatever fashion you wish.

